
Discover Your Creative Kitchen AI Companion
Let our assistant inspire your next meal!
Simply provide a recipe idea or the ingredients you have, and ScrummyChef will instantly come up with a new recipe just for you.
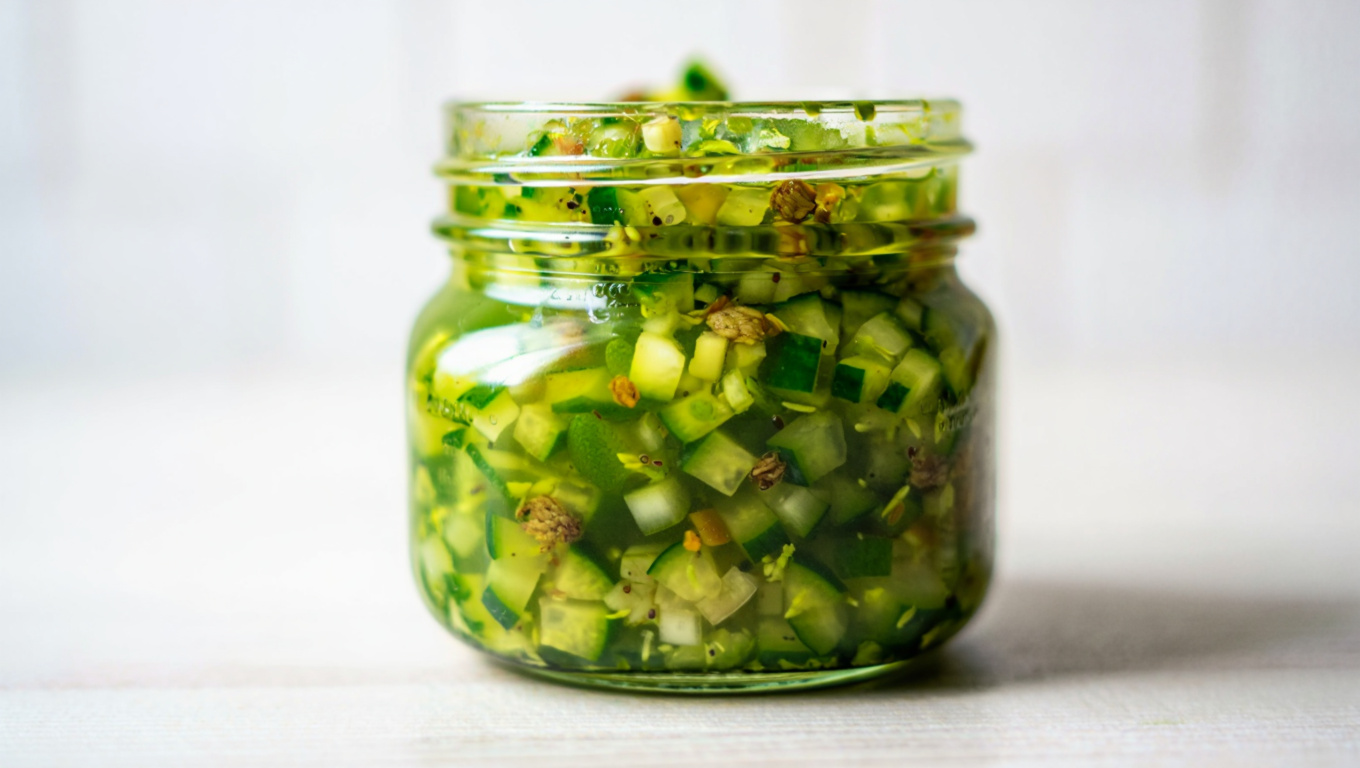
The Ultimate Homemade Relish
Save
Rate
Tap to rate
PREP TIME
30 min
COOKING TIME
40 min
TOTAL TIME
550 min
SERVINGS
128 servings
Ingredients
- 7 large English cucumbers
- 4 large sweet onions, peeled
- 1/4 cup pickling salt
- 3 cups white sugar
- 1/2 cup all-purpose flour
- 1 teaspoon ground turmeric
- 1 teaspoon ground ginger
- 1 teaspoon celery seed
- 3 cups distilled white vinegar
- 1 cup water
- 4 (1 pint) canning jars with lids and rings
Instructions
1
Begin by using the large holes of a box grater to shred cucumbers and onions into a spacious container. Sprinkle pickling salt liberally over the shredded vegetables, making sure they are evenly coated. Cover the container tightly; allow it to sit at room temperature for 8 hours or overnight, allowing the flavors to meld together
2
.
3
Next, use a paper towel to extract as much liquid as possible from the cucumber mixture; set it aside for later use.
4
In a separate, large container, combine sugar, flour, turmeric, ginger, and celery seed. Whisk these dry ingredients together until well combined.
5
Heat vinegar and water in a large, heavy pot over medium-high heat; whisk constantly to prevent scorching. Once the mixture reaches a boil, gradually whisk in the sugar mixture until it is smooth and free of lumps.
6
Stir in the cucumber mixture, ensuring that everything is well incorporated. Continue to cook, stirring frequently, until the relish reaches a thickened consistency, approximately 15 minutes.
7
To ensure that your jars are properly sterilized, submerge them in boiling water for at least 5 minutes. This will kill any bacteria that may be present and create a clean environment for canning.
8
Pack the relish into the hot, sterilized jars, filling them to within 1/4 inch of the top. To remove any air bubbles that may have formed, use a knife or thin spatula to run along the insides of the jars.
9
Next, use a moist paper towel to wipe the rims of the jars and remove any excess food residue. Place the lids on top of the jars, screwing them into place until they are secure
10
.
11
To process the jars safely and effectively, place a rack in the bottom of a large stockpot and fill it halfway with water. Bring the water to a boil over high heat, then carefully lower the jars into the pot using a holder. Leave at least 2 inches of space between the jars, and pour in more boiling water if necessary to ensure that the water level is at least 1 inch above the tops of the jars.
12
Once the jars have been submerged in boiling water for 10 minutes, remove them from the stockpot and place them on a cloth-covered or wood surface, several inches apart, until they have cooled completely
13
.
14
Finally, press the top of each lid with your finger to ensure that it is tightly sealed; if the lid does not move up or down, you know that it has formed a proper seal
15
. Store the jars in a cool, dark area to preserve their flavor and texture over time


© 2024 Scrummy Chef - All rights reserved