
Discover Your Creative Kitchen AI Companion
Let our assistant inspire your next meal!
Simply provide a recipe idea or the ingredients you have, and ScrummyChef will instantly come up with a new recipe just for you.
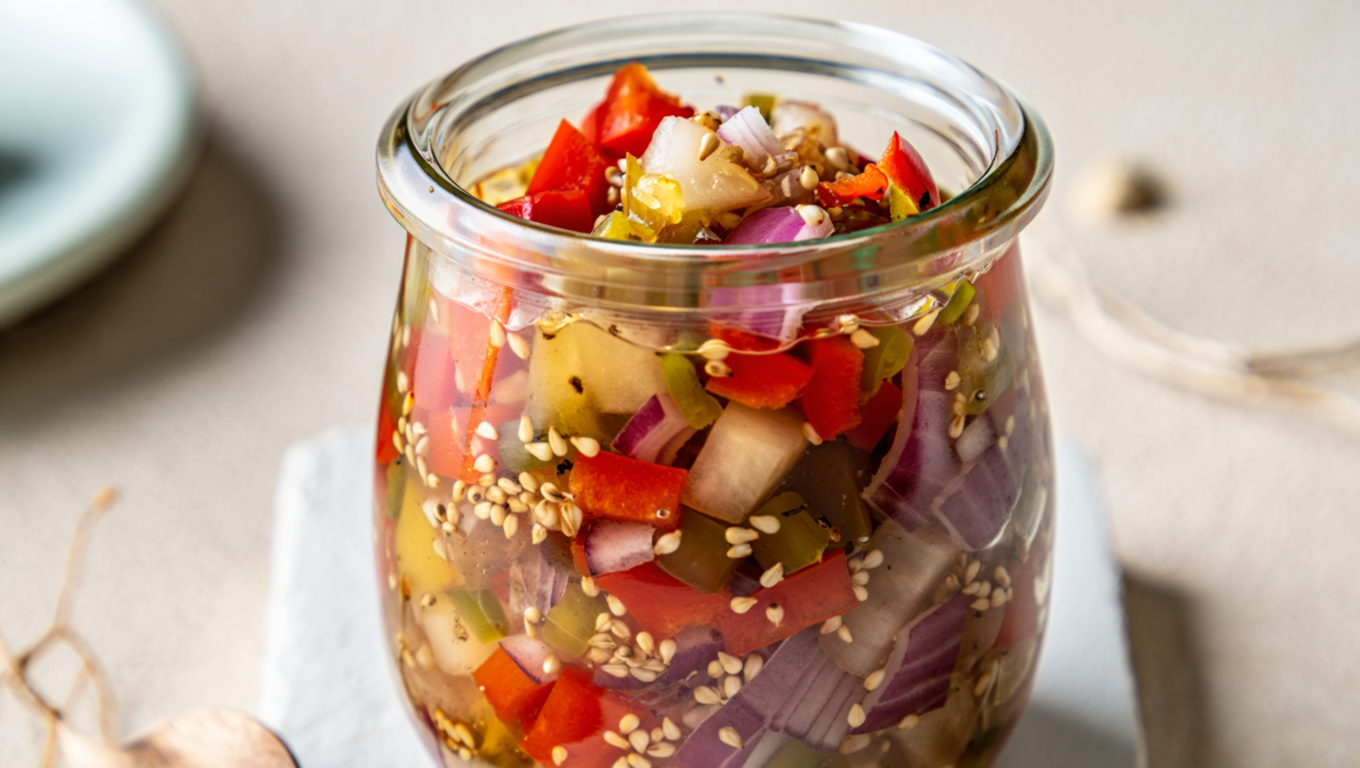
Spicy Pear Chutney
Save
Rate
Tap to rate
PREP TIME
20 min
COOKING TIME
40 min
TOTAL TIME
780 min
SERVINGS
192 servings
Ingredients
- 12 large pears
- 3 large onions, coarsely chopped
- 3 large green bell peppers, seeded and coarsely chopped
- 4 jalapeno peppers, coarsely chopped
- 2 cups apple cider vinegar
- 2 cups white sugar
- 9 ounces prepared mustard
- 1 tablespoon salt
- 10 (1 pint) canning jars with lids and rings, or as needed
Instructions
1
Begin by submerging the pears into a large cooking vessel, then add water to cover them completely. Place the pot over high heat and bring the mixture to a rolling boil, which should take around 10-15 minutes. Once boiling, reduce the heat to a moderate level and let cook until the pears are tender, approximately 20 minutes. Remove from heat and allow to cool down before proceeding.
2
Next, divide the chopped ingredients - pears, onions, green bell peppers, and jalapeño peppers - into smaller batches. Process each batch in a food processor until the desired consistency is achieved, resulting in finely chopped vegetables.
3
Combine the chopped pears and vegetables, along with any juice that may have accumulated during processing, in a large cooking pot. Stir in vinegar, sugar, mustard, and salt until all the ingredients are well incorporated.
4
Bring the mixture to a boil over high heat, then reduce the heat to a low-medium setting and let simmer for about an hour. This allows the flavors to meld together and the relish to thicken, reaching a consistency similar to that of jam.
5
Before proceeding with canning the relish, ensure that the jars and lids are properly sterilized by submerging them in boiling water for at least 5 minutes. Fill the hot, sterilized jars with the relish mixture, leaving a small gap between the top of the jar and the lid. Use a knife or thin spatula to remove any air bubbles that may have formed during filling.
6
Clean the rims of the jars with a damp paper towel to remove any excess food residue. Secure the lids onto the jars and screw on the rings firmly.
7
To ensure that the jars are properly sealed, place a rack in the bottom of a large stockpot and fill it halfway with water. Bring the water to a boil, then carefully lower the jars into the pot using a holder, leaving about 2 inches of space between each jar. Pour in more boiling water to cover the jars by at least 1 inch, then bring the mixture back to a rolling boil. Cover the pot and let process for about 20 minutes or according to local guidelines.
8
Once the processing time has elapsed, remove the jars from the stockpot and let them rest for 12-24 hours. Check each lid by pressing the center with your finger; if it doesn't move up or down, the seal is secure. Remove the rings and store the sealed jars in a cool, dark area for long-term preservation.


© 2024 Scrummy Chef - All rights reserved