
Discover Your Creative Kitchen AI Companion
Let our assistant inspire your next meal!
Simply provide a recipe idea or the ingredients you have, and ScrummyChef will instantly come up with a new recipe just for you.
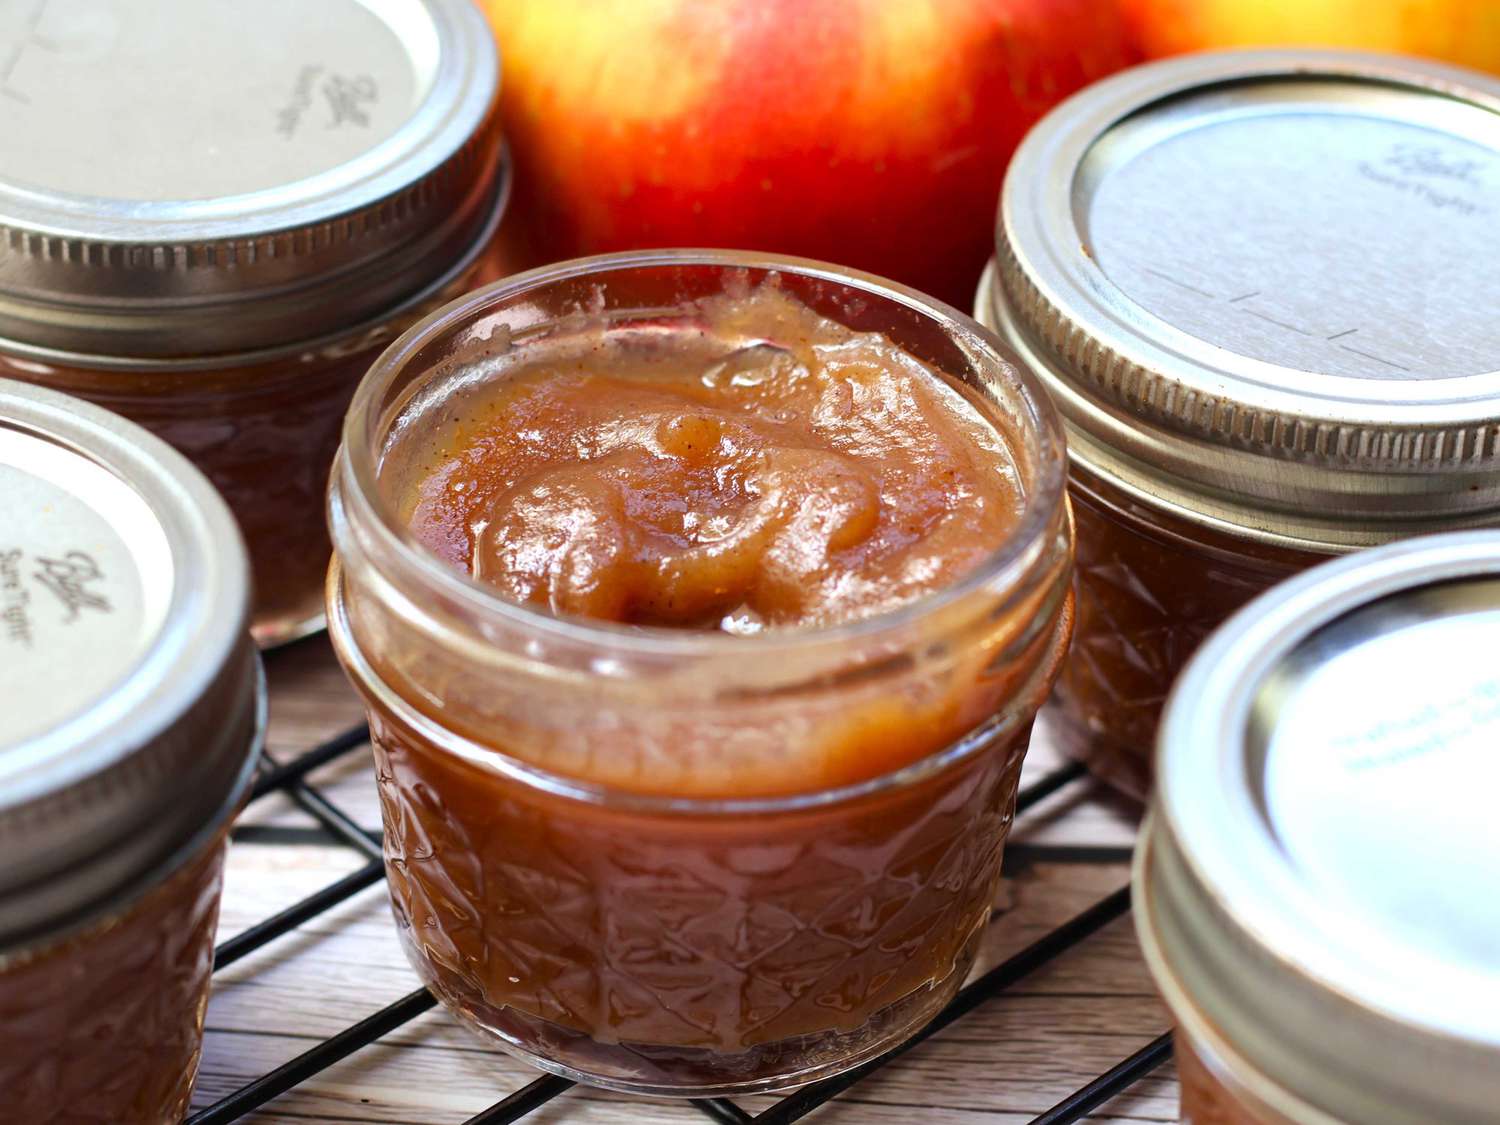
Slow Cooker Apple Butter
Save
Rate
Tap to rate
PREP TIME
10 min
COOKING TIME
240 min
TOTAL TIME
260 min
SERVINGS
112 servings
Ingredients
- 12 apples - peeled, cored, and cut into small cubes
- 2 cups brown sugar
- 2 teaspoons ground cinnamon
- 1/2 teaspoon ground allspice
- 1/4 teaspoon salt
- 1/4 teaspoon ground cloves
Instructions
1
Combine the sliced apples with brown sugar, cinnamon, allspice, salt, and ground cloves in a slow cooker.
2
Allow the mixture to simmer on high for an extended period of time, typically between 4 and 6 hours, until the apples have reached a tender consistency that can be easily mashed with a fork.
3
Use an immersion blender to puree the apple mixture until it reaches a smooth consistency.
4
Prepare the jars and lids by submerging them in boiling water for at least 5 minutes to ensure they are properly sterilized.
5
Fill the hot, sterilized jars with apple butter, leaving a small gap between the filling and the top of the jar to allow for expansion during cooling.
6
Run a knife or thin spatula around the interior of each jar after filling to remove any trapped air bubbles.
7
Wipe the rims of the jars with a damp cloth to eliminate any residual food particles before applying lids and screwing on rings.
8
Position a rack in the bottom of a large stockpot, filling it halfway with water before bringing it to a boil.
9
Carefully lower the jars into the boiling water using a holder, leaving at least 2 inches of space between each jar.
10
Add more boiling water as necessary to ensure the water level remains at least 1 inch above the tops of the jars.
11
Bring the water to a rolling boil, cover the pot, and process for 10 minutes to ensure proper sterilization.
12
Remove the jars from the stockpot and place them on a cloth-covered or wooden surface, allowing several inches of space between each jar as they cool.
13
Once the jars have cooled, press the tops of the lids with your finger to verify that they are tightly sealed (the lid should not move up or down at all).
14
Store the sealed jars in a cool, dark area to preserve their quality.


© 2024 Scrummy Chef - All rights reserved