
Discover Your Creative Kitchen AI Companion
Let our assistant inspire your next meal!
Simply provide a recipe idea or the ingredients you have, and ScrummyChef will instantly come up with a new recipe just for you.
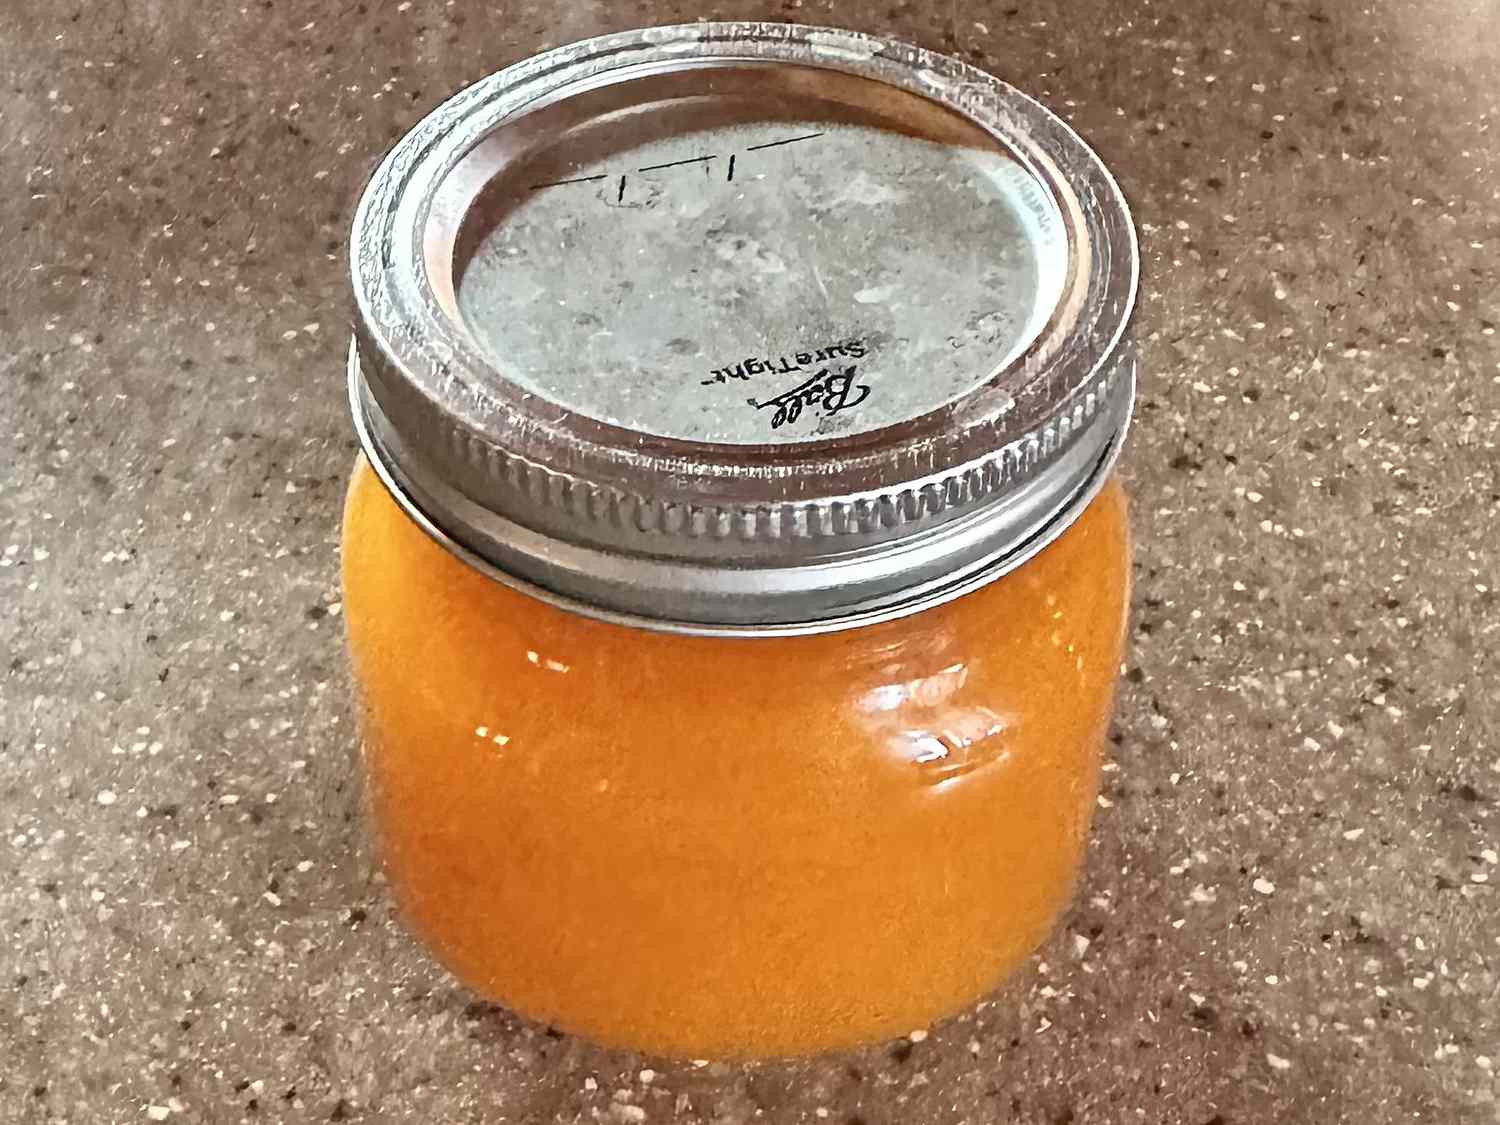
Homemade Apricot Jam
Save
Rate
Tap to rate
PREP TIME
20 min
COOKING TIME
40 min
TOTAL TIME
120 min
SERVINGS
50 servings
Ingredients
- 8 cups fresh apricots - peeled, pitted, and crushed
- 1/4 cup lemon juice
- 6 cups white sugar
Instructions
1
Gather the necessary ingredients and equipment.
2
Combine dried apricots with freshly squeezed lemon juice in a large saucepan over medium heat; add granulated sugar and gradually stir until the mixture reaches a boil, dissolving the sugar in the process.
3
Continue to cook and stir until the apricot mixture reaches a thick, syrupy consistency, approximately 25 minutes. Remove from heat and skim off any foam that may have formed on the surface if necessary.
4
Meanwhile, prepare your jars, lids, and rings by thoroughly cleaning and sanitizing them in the dishwasher or a boiling water bath. Ensure that the lids remain submerged in simmering water until you are ready to seal the jars.
5
Fill hot, sterilized jars with the apricot jam, leaving a small gap of about 1/4 inch at the top. Use a blunt instrument like a knife or thin spatula to gently remove any air bubbles that may have formed inside the jars after they have been filled.
6
Dampen a paper towel and use it to wipe away any food residue from the rims of the jars. Place the lids on top and screw them into position, ensuring a secure fit.
7
Position a rack in the bottom of a large stockpot and fill it halfway with water. Bring the water to a boil, then carefully place the jars into the pot using a jar holder, leaving about 2 inches of space between each jar. If necessary, add more boiling water to ensure the water level is at least 1 inch above the tops of the jars. Bring the water to a full boil, cover the pot with a lid, and process for 15 minutes.
8
Once the jars have cooled down on a cloth-covered or wooden surface, several inches apart, remove them from the pot and store them in a cool, dark area. Finally, press down on the top of each lid with your finger to ensure a tight seal and that the lid does not move up or down.


© 2024 Scrummy Chef - All rights reserved